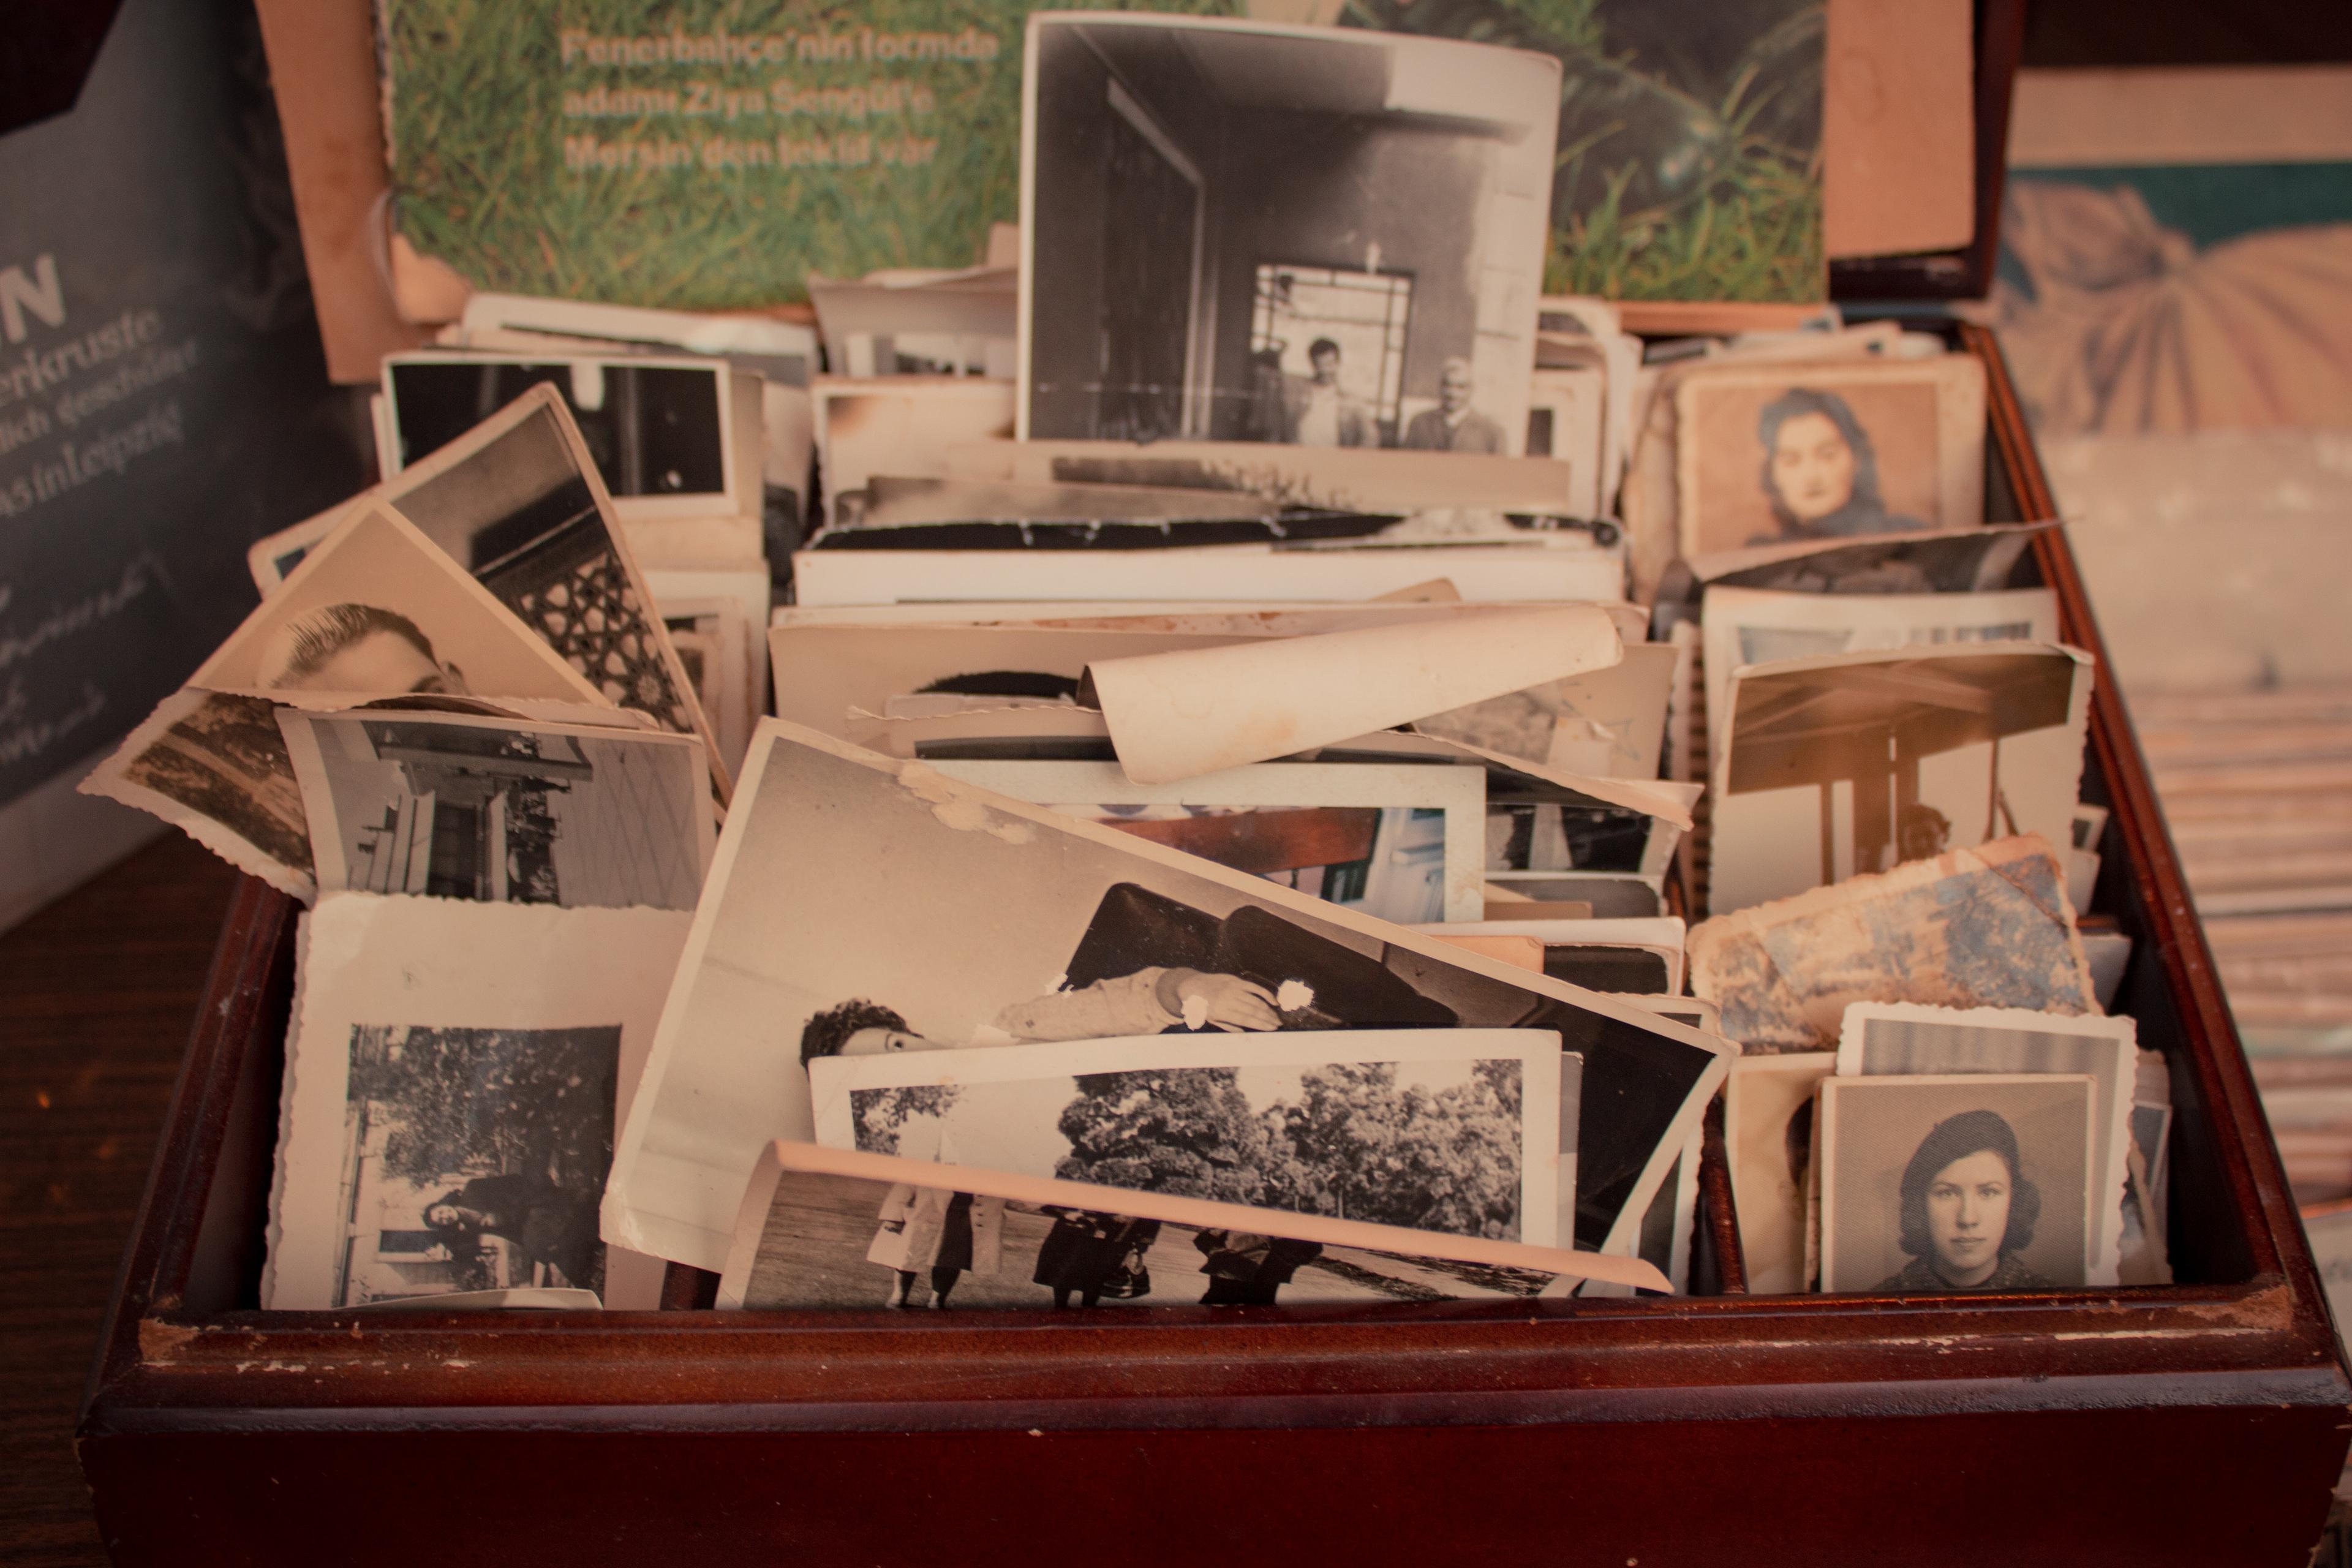
Restoring Old Photos: A Journey Through Time

In an age where digital photography reigns supreme, the charm of old photographs holds a special place in our hearts. They capture moments that have long faded from memory but are forever preserved in delicate prints. However, over time, these cherished images can deteriorate due to aging, exposure to elements, or simple wear and tear. Restoring old photos is not just about repairing physical damage; it’s about reconnecting with our past and preserving memories for future generations. Here’s how you can breathe new life into your old photographs.
Assessing the Damage
Before diving into restoration, it’s essential to evaluate the condition of your photos. Look for common issues such as:
- Fading: Colors may have lost their vibrancy.
- Scratches and Tears: Physical damage from handling or poor storage.
- Stains and Spots: Discoloration due to exposure to moisture or other contaminants.
- Yellowing: Typically caused by aging paper and adhesives.
Cleaning and Handling
Proper handling is crucial to avoid further damage. Wear cotton gloves to prevent oils from your fingers from transferring to the photo. Gently clean the surface using a soft brush to remove dust and debris. If necessary, use a specialized cleaner designed for photographs, but always test on a small, inconspicuous area first.
Digital Scanning
Scanning your photos is the first step in digital restoration. Use a high-resolution scanner to capture the finest details. Ensure the scanner glass is clean to avoid introducing new blemishes. For fragile photos, place them between two sheets of acid-free paper to protect them during scanning.
Digital Restoration
Once scanned, you can use photo editing software like Adobe Photoshop or GIMP to restore your images. Here are some basic techniques:
- Color Correction: Adjust the color balance to restore faded colors. Use tools like Levels or Curves to correct color casts and contrast.
- Spot Removal: Use the Healing Brush or Clone Stamp tool to remove stains, scratches, and dust spots.
- Repairing Tears and Creases: Carefully use the Clone Stamp or Healing Brush to mend tears and creases, blending the repaired areas with the surrounding photo.
- Sharpening: Apply sharpening filters to enhance the clarity of details, but be cautious not to overdo it.
Preserving Your Restored Photos
Once restored, save your digital images in a high-quality format like TIFF or PNG. Create backups and store them in multiple locations to prevent data loss. For physical prints, consider printing on acid-free paper and using archival-quality materials for storage.
Printing and Sharing
If you wish to print your restored photos, use high-quality, archival-grade paper and ink to ensure longevity. Digital prints can be shared with family members, creating lasting memories in a format that everyone can enjoy.
Seeking Professional Help
For photos with extensive damage or for those who prefer a hands-off approach, consider professional photo restoration services. Experts use advanced techniques and equipment to achieve stunning results that might be challenging to replicate at home.
Final Thoughts
Restoring old photos is a labor of love that can rekindle the past and preserve precious memories for future generations. Whether you undertake the task yourself or seek professional help, the reward is a renewed connection to the stories and faces captured in those timeless images. So, dust off those old albums, and let the journey of photo restoration begin—one image at a time.


